8800GTS Water Conversion Hell Day
As usual, it started with a game. Two games, in fact, but Bioshock is the real culprit. This isn’t a review of Bioshock, and I won’t discuss what I love or hate about it, but one thing I will say: it doesn’t run very fast on an nVidia 7600GT video card, at least not at my monitor’s native resolution of 1680×1050. And, sure, I could run at a lower resolution, but then it won’t run widescreen. Oh my.
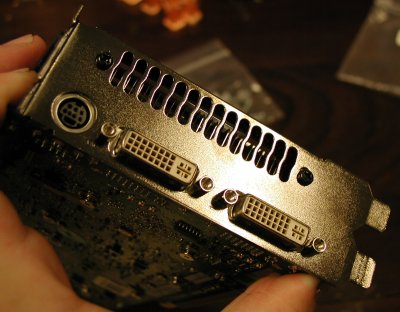
So, I got a 8800GTS. Whee! And here I had planned to save up some money this summer. (Imagine half-hysterical laughter here.) Well, of course it runs pretty darn well with the default heat sink, but hey I’ve already got a water block that works on it, so I thought, let’s put it on! And while I’m at it, I decided to pull the PhysX card and not reinstall it for a while. (I like the concept, but I’m not adding yet another card to my cooling loop, OK?)
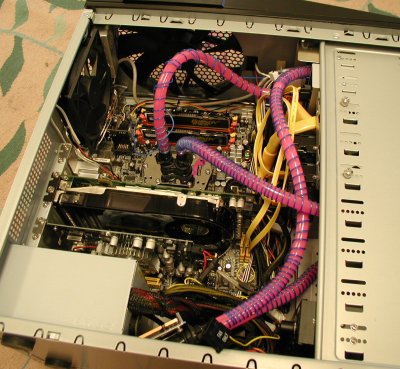
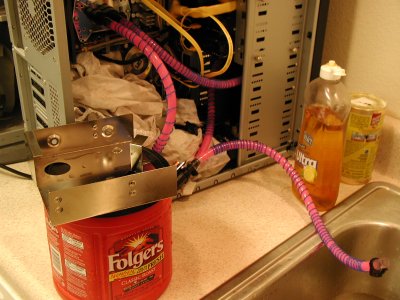
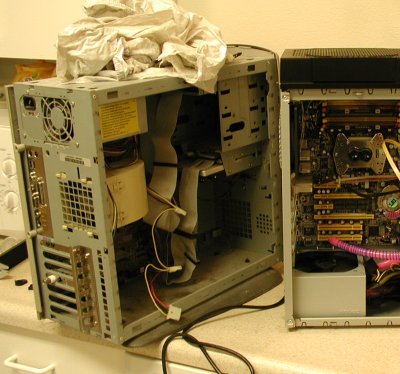
So, here’s the system with a factory heat sink, and the water block sort of sitting on the bottom of the case. Doesn’t that just scream: “hook me up”? Yeah.
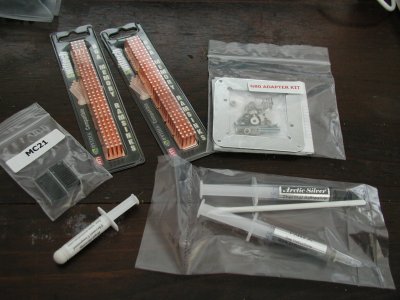
I ordered this stuff from Crazy PC:
- Swiftech MC14 bga ramsinks
- Swiftech MC21 heat sinks for those funny other chips on the side that I haven’t bothered to research what they are (but which look like a power supply circuit)
- the G80 adapter kit for the Swiftech MCW60 water block
- Arctic Ceramique for the GPU
- Arctic Silver adhesive epoxy, because I heard the MC14’s come with completely useless double-sided tape
- Extra hose clamps, in case things go horribly wrong.
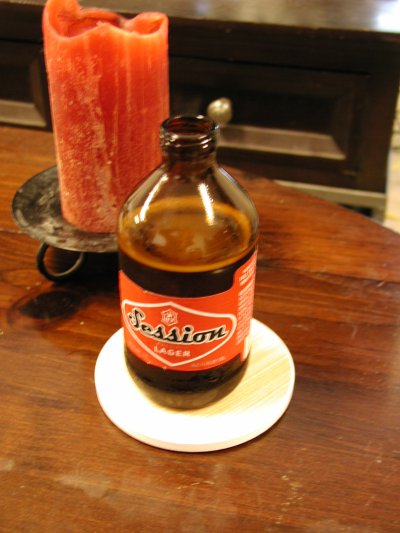
For refreshment during this procedure, I chose Session Lager from Full Sail Brewing Company:
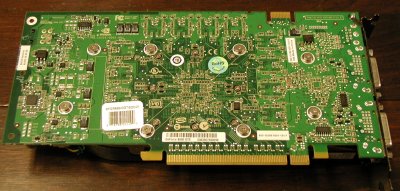
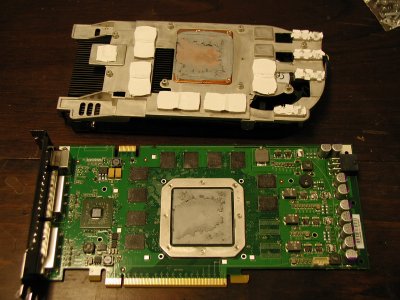
OK, so it’s time to pull the card and try to remove the factory heat sink without ripping half the chips off of the board. I used to think this was the scariest part of installation. It’s still quite frightening. As you can see, the heat sink is held on by a billion screws on the back, and two on the side:
And I managed to get it off safely by gently twisting back and forth and pulling. Fortunately, while they use plenty of goo, it’s the kind that comes off. BFG has been good to me in this respect.
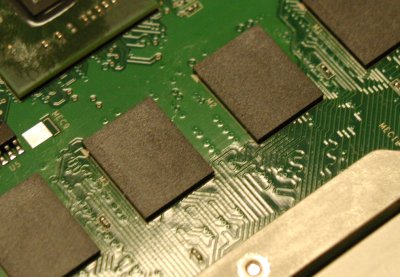
So, I cleaned off the goo with paper towels and lots of denatured alcohol. Sure, it’s not industrial degreaser, but it works pretty well. Right? Well, it always has in the past, anyway. Minor geeky point of interest: They sanded the RAM chips down, presumably so we won’t notice that they’re purchasing super-cheap RAM and overclocking it. Fine, OK. If it makes them happy, that’s all well and good.
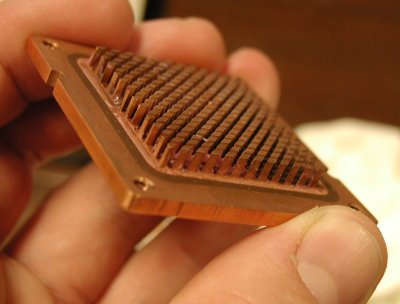
Next, I’m thinking that it’s time to replace the adapter plate on the GPU water block. I was hoping that I could switch it out without pulling off the hoses, but no luck. Oh well, I can pull the hoses off no problem, and then just reattach… and just reattach… I’ll just reattach…
What the hell is that?
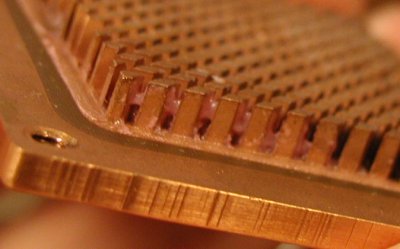
Oh my god, there’s waxy buildup in my water block. I should have used a different brand of furniture polish! Let’s look closer at the gunk:
Yup, that’s definitely pink wax from FluidXP Extreme. Oh man, how deep does the rot go? Now I’m really scared. Sure, it’s only a little sediment, but how much is in the radiator? Is the pump clogging? At the very least, I’m going to flush it and get rid of the FluidXP.
So, naturally I had to spend several hours investigating the extent of the problem, flushing out the system with warm tap water, and doing other fun things like disassembling the pump.
Well, in the final analysis, I’m convinced that it’s gross, and I’ve probably lost some cooling ability, but that there’s plenty of cooling power left. Faced with the decision between trying to flush it out with
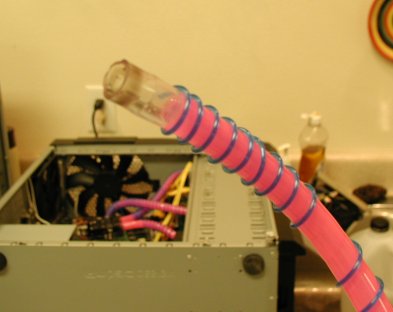
nasty solvents that might damage the copper, replacing the radiator, and just living with it, I guess I’ll live with it. The system still runs pretty darn cold with the waxy buildup. But I will have to order some new tubing, just for appearances.
Yup. That’s not coming off. So, by this time I’ve lost some of my will to take pictures, and have run out of beer. Fortunately, I have some wine here. This is taking longer than I expected!
It soon becomes apparent that the double-sided adhesive on the ramsinks is not going to stick. I mean, not at all. It doesn’t even feel tacky to the touch. So, I set to work removing the double-sided tape from eleven (11) MC14 forged copper heat sinks, while watching Total Recall.
Hey, I’ve been at it for over 8 hours by this time, I’m ready to relax for a bit.
Wow, Total Recall is a fun movie! “You blew my cover!” Also, I’ve noticed that this adhesive tape sticks very well to the bottom of the ramsinks, and it was hard work removing it. Why couldn’t the other side work as well? So, mixing up the epoxy and gluing on a zillion ramsinks is the work of a few minutes, give it 15 minutes to partially set, and I’m ready to start reassembling. I know people get crazy about spreading arctic ceramique, but I’m a fan of the “put a blob in the middle and let the two perfectly parallel planes squash it out into a thin layer” method. The art, of course, is in knowing how large of a blob to use. This is the one part of installation that is still an art, and only practice will teach you how much is right.
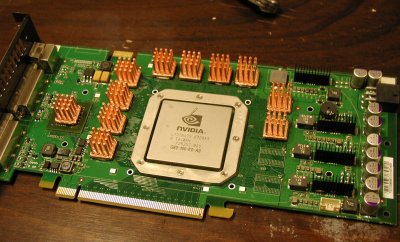
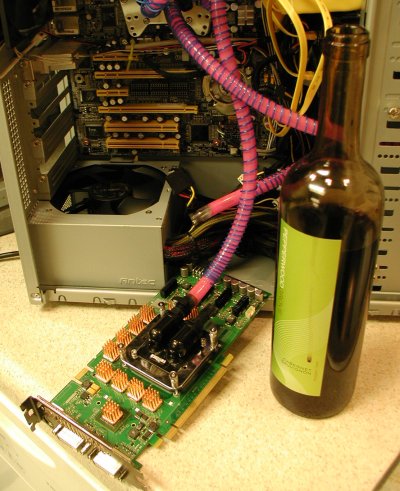
Here is the reassembled video card, along with a nice bottle of Pepperwood Grove. Tasty.
And then the ramsinks started to fall off. Granted, I did in fact touch them, and epoxy needs several hours to fully set. Plus, thinly-squashed epoxy sets even slower (for some reason that I don’t fully understand). Ugh. Nooo, please let this end!
So I’m reapplying them, and I can’t decide whether they’re falling off because I did an inadequate job of removing the old grease, or whether the epoxy needs more time to cure. But I finish replacing the ones that fell off, and finish reinstalling everything. While filling and testing the water cooling part, I power it from my old HP Pentium 2 computer. This computer is reliable, quiet, and slow as molasses. But it makes a great 12V power supply.
…and waiting for the epoxy to dry on the other ramsinks that fell off. By now I’m really hitting the wine pretty hard, and starting to get depressed.
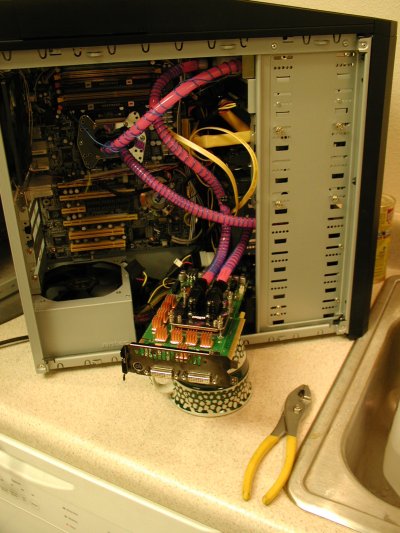
And finally it’s all together. Here it is, upside down. (Don’t get dizzy.) I don’t recall clearly through the wine haze, but I believe the computer is upside down here while I wait for still more ramsinks to be
reglued. :(
So, no other ramsinks have fallen off since then, but at some point I’m going to have to touch them to make sure they’re on securely. It would be bad to have copper thingumies falling into the power suply!
[Update: I carefully checked the ramsinks, now that they’ve had time to dry, and they seem to be properly glued on now. Whew!]
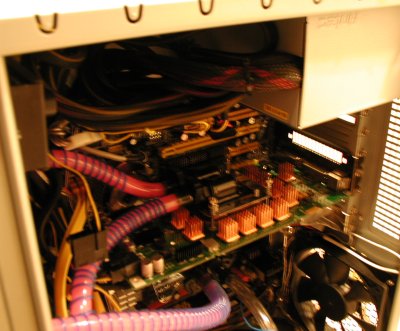
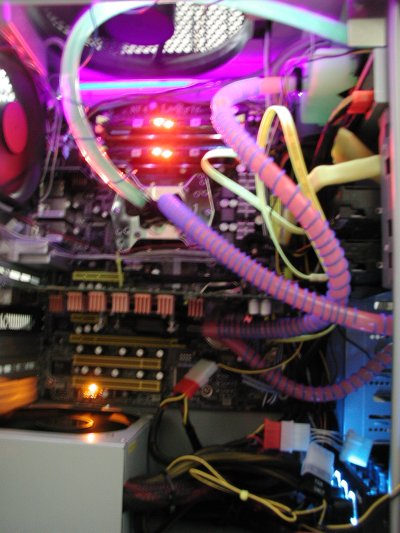
Finally, a quick, blurry picture of everything actually working. Notice that I replaced that one tube, so that’s the only one that is green. The rest are still coated with FluidXP goo!
And at this point it’s nearly 5 AM. I’ve been at this since noon. Argh. The moral of the story is: give your ramsink adhesive time to dry, and clean the hell out of the chips before you apply it. You might even want to get out the emery cloth or 800 grit sandpaper and rough up the surface a bit.
In the final analysis, the system is very quiet now. The only remaining issue is that the video card now blocks most of the airflow to the NForce motherboard chipset, which causes it to run hot again. It’s always something! Be sure to check back next week, when I demonstrate how to change a light bulb, in the process replacing most of the electrical wiring in my house.

