One upgrade leads to another.
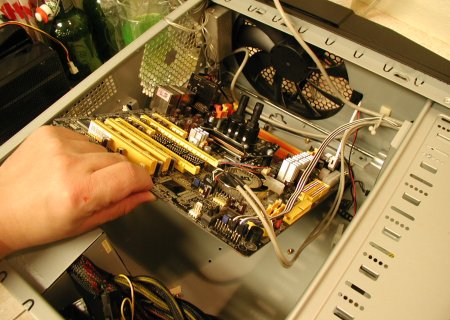
One upgrade leads to another, and a third, and some breakage in today’s episode of “The Idiot Who Keeps Taking Apart A Perfectly Good Computer”.
What was the lame justification this time? My chipset fan was going berserk. Whine! Whine! Shut! Up!
“There’s only one solution”
Obviously, this is the world getting revenge on me for getting a new video card. First of all, now that I can use bigger textures, the disk has to load… bigger textures! Which means more disk I/O. And second, the chipset on my motherboard was right under the video card, where it can suck in nice hot air from the ramsinks. Horror!
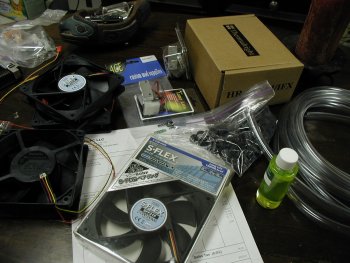
There’s only one solution. Order a bunch of stuff from CrazyPC. While I’m at it, I can install some Scythe fans, replace the tubing coated with pink FluidXP wax, and maybe add some bling. The beverage of choice for this installation was Grolsch. Sorry, I do not have a picture of it. Oh heck yeah, check out all this cool stuff!
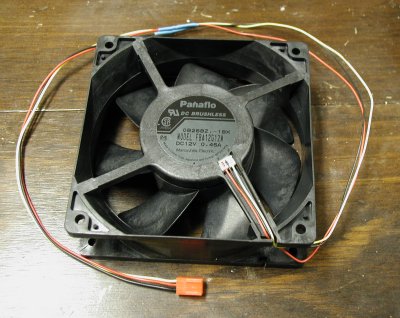
I chose a thick Panaflo fan for the radiator, because, hey, there’s room for a thick fan. That’s logic, that is!
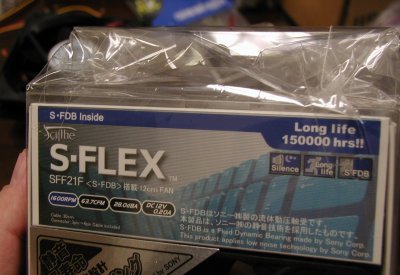
Have you ever noticed how some of these electronic parts are shipped in a plastic box that is then wrapped in a plastic bag? Total overkill, but it does give you a “this product is very special” feel.
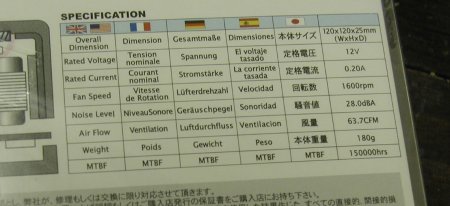
Also, the Scythe fans brag about how they are “Chinese made”. And labeled in like fifty languages, but.. not Chinese? Can Chinese read Japanese if it’s written in chinese characters? I’m confused.
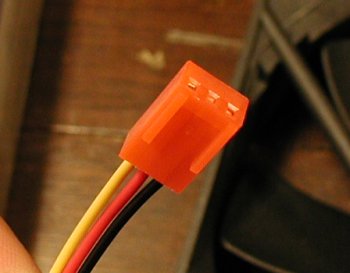
I also have a dozen or so UV sensitive red molex connectors for the 4-pin power and fan connectors. Unfortunately, the male ones are on back-order. Guess I’ll install them later. They’re not really red, more of a flame orange, which suits me fine.
Having been burned by FluidXP in the past (or maybe I should say “Waxed”?), I will be using CrazyPC’s house brand additive.
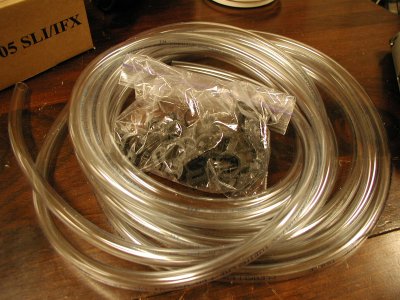
I bought something like 20 feet of cable and 20 clamps. You can never have too many hose clamps. Never!
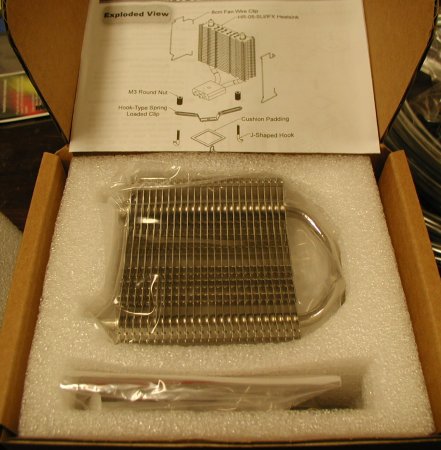
And, don’t forget the reason for the season: the thermalright chipset cooler, nestled in its eco-incorrect foam packaging.
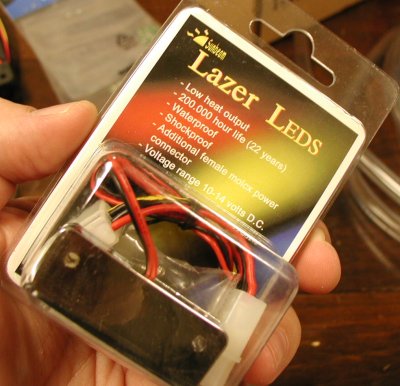
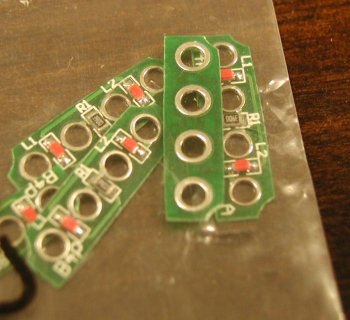
While I’m at it, I want more UV light all through the case. UV light rules. So here are some UV LEDS,..
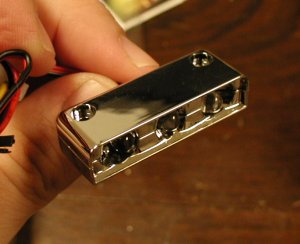
…and some UV molex connector illuminators!
Also, my cat Shawney will be providing assistance throughout the procedure. She likes anything that makes the computer produce more heat. And, of course, raw salmon.
<insert colorful heart icons here>
“I guess I’ll start with the fans.”
So, time to break it down. I guess I’ll start with the fans. The Panaflo fan comes with two connectors. This connector unplugs from the fan and can be replaced! I didn’t figure this out, and cut it. What an idiot I am. Fortunately, I have solder.
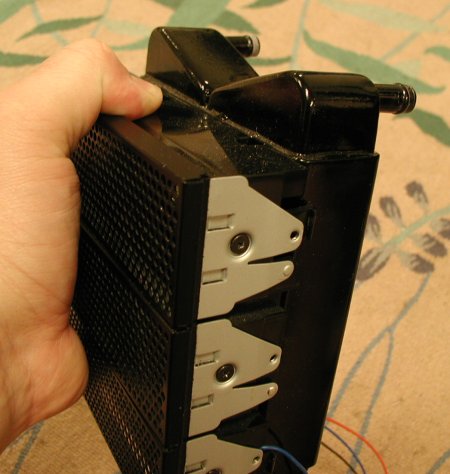
I mounted the Swiftech radiator by attaching it to one of the stock mounting adapters. I had to drill out the holes, but otherwise it’s just a question of finding screws the right length.
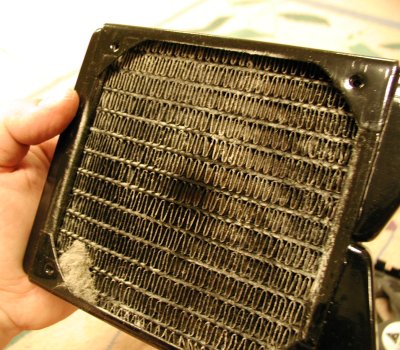
I guess it was time to take it apart and clean! Maybe I should make some sort of filter for the intake. But then the case wouldn’t be beautiful any more!
“…and should be fairly easy to mount”
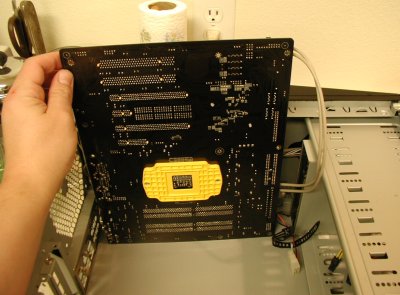
Aside from that, disassembly is uneventful and boring. I figure I can swap the chipset heatsink without even fully disconnecting the motherboard. It mounts on two screws, and should be fairly easy to attach. I mean, what can possibly go wrong?
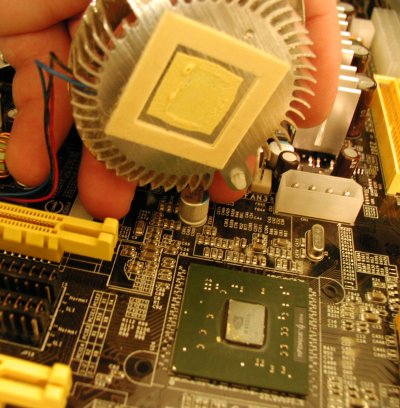
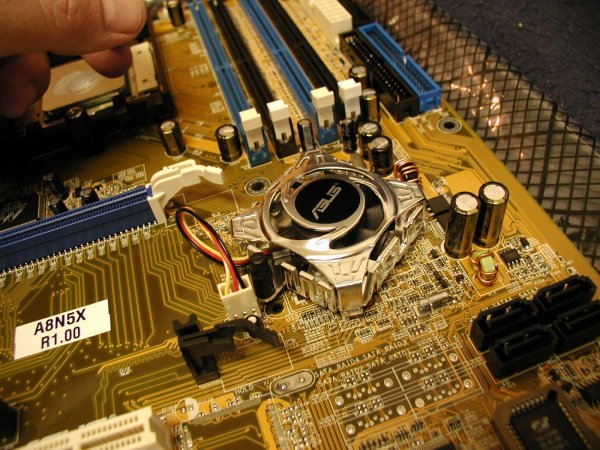
And the factory buzzer, um, I mean heatsink comes off quite easily, but I did have to be careful because there are traces on the motherboard right next to the mounting holes.
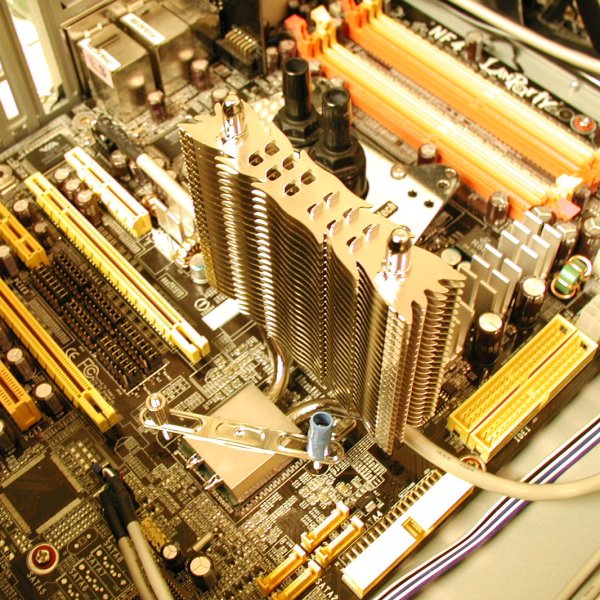
The thermalright comes with what can only be called “crappy” mounting hardware. First of all, there’s the foam that keeps it from tipping over when balanced on that tiny chipset heatsink. Some of the foam is on the edges of the bottom, which are at a different height. So they don’t work! (Sorry this is a bit blurry. Sunspots, I think.) This could cause problems. (And possibly it did…)
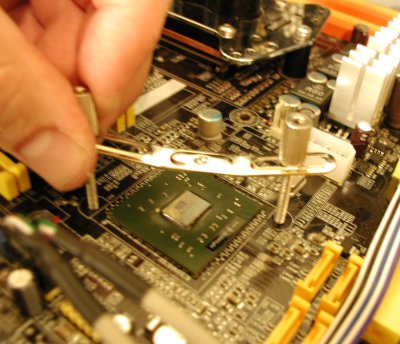
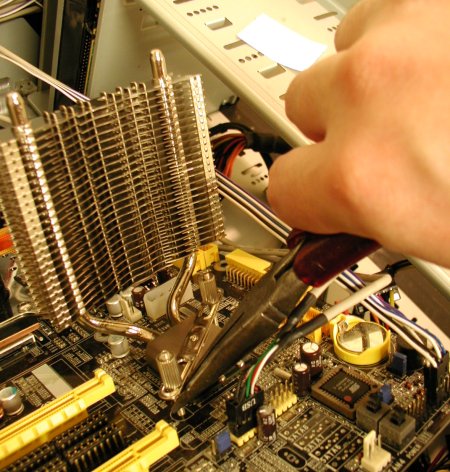
So, I inserted the screws from the back, using the (supplied) little black rubber washers to protect the motherboard, and quickly discovered that this product requires three hands to install: one to hold the heat sink, one to tighten the nut, and one to hold the screws in place. Four hands might be even better.
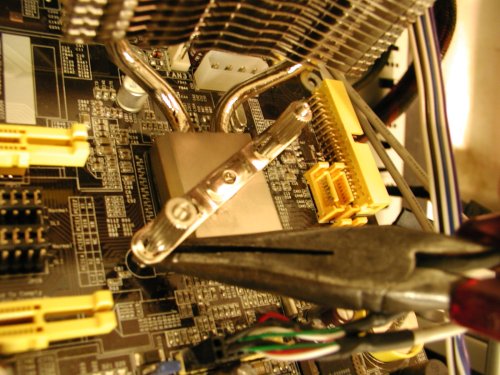
Also, it was hard to get to the other side of the board, so I figured I could hold the screws thusly:
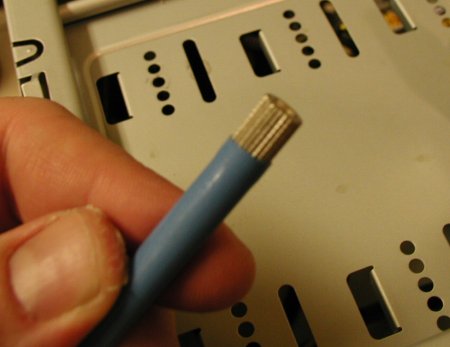
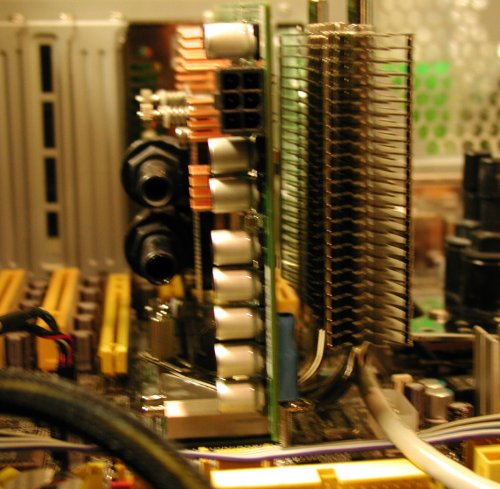
Well, and that sort of works. Sort of. For fine adjustments. Too much risk of slipping and damaging something though! Oh, and guess where those big metal nuts stick up? Remember where the video card is? That’s right, they rest firmly on the back of the video card. Who designs this crap? So, I used some heat shrink tubing to prevent it from shorting out.
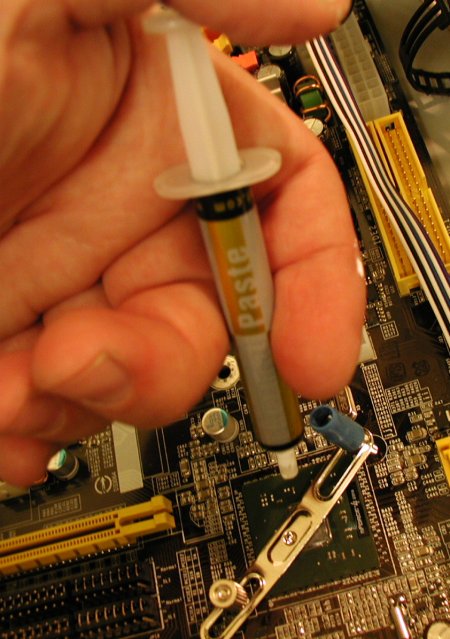
I think I can make it work now, so I guess I’ll try to clamp everything together. I think it’s funny that they give you this huge tube of heat sink compound for a tiny contact area. Of course, the fourth or fifth time I applied heat sink it got less funny. This tube’s plunger would stick, and then suddenly break free and release way too much compound. Bleah!
Once it’s mounted, it sure looks impressive. Supposedly you can even clip a fan onto it, but I’d be afraid it would destroy the chipset or motherboard. Anyway, it should be plenty of heatsink running passive.
Ick. Resting right on the video card.
“They must have included a spare.”
It’s at this point I noticed a little black grommet in the bottom of the case. Wow, that’s really cool! They must have included a spare. No, wait, that seems very unlikely… Sure enough, the rubber washers are soft enough that they the head of the screw passes right through. Which is bad. So, I took everything apart, substituted some paper washers for insulation, and reassembled everything. And it looks like one of the traces might have been damaged. Now I’m starting to get nervous, but
hey it’s just IDE2. What’s the worst that can happen?
So, eventually I got it all plumbed, and ready to fill.
When you buy distilled water, does it matter whether it’s artesian?
“I tried a lot of things.”
The time of the filling is at hand. I had a lot of fun watching the bubbles in the tubing, and periodically topping up the reservoir. I forgot to take pictures. You’ve probably seen it all before, anyway. Uneventful.
And this is where things go dark. It’s getting on towards 4 AM on Friday night. I attached the power supply, powered it up, and it won’t power up. After much testing and fiddling around, it’s pretty obvious that I’ve destroyed my motherboard. I tried denial, but it’s a bit difficult when your computer won’t even power on long enough to post.
Crap.
Yes, I tried another power supply. I tried a lot of things. It’s dead. :(
Eight hours of sleep, and a trip to the store later…
So now I am a proud owner of the decidedly mid-range ASUS A8N5X motherboard, which is world-renowned for its inability to support 1T memory timings with bus speeds over 220. (This motherboard was to be no exception, but that is a story for another time.) On the bright side, it does have an nForce 4 chipset that should support my current RAID configuration, etc etc.
“Second verse, same as the first.”
It’s time to do a repeat performance on the chipset install.
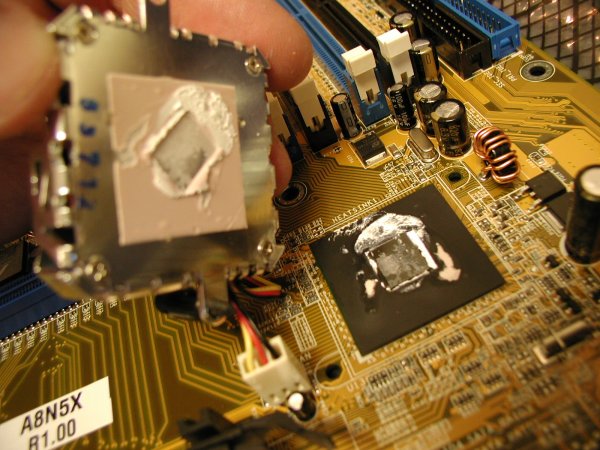
Removing the factory cooler…
Notice that ASUS put a piece of insulating material over the entire at-risk part of the chipset. Nice!
And… oh never mind, it’s just the same as what I just did. Second verse, same as the first.
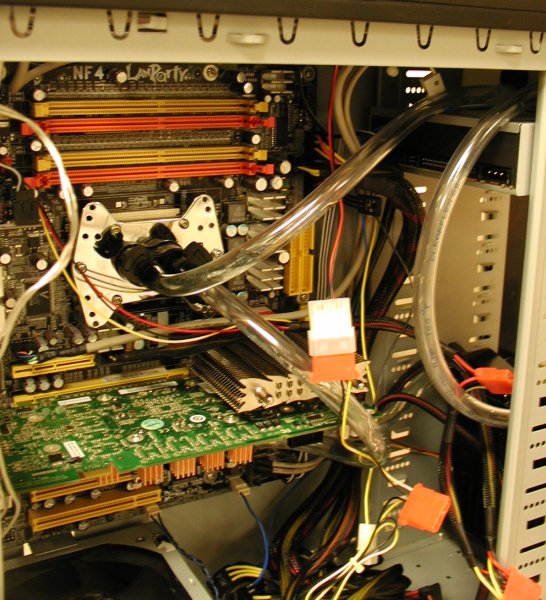
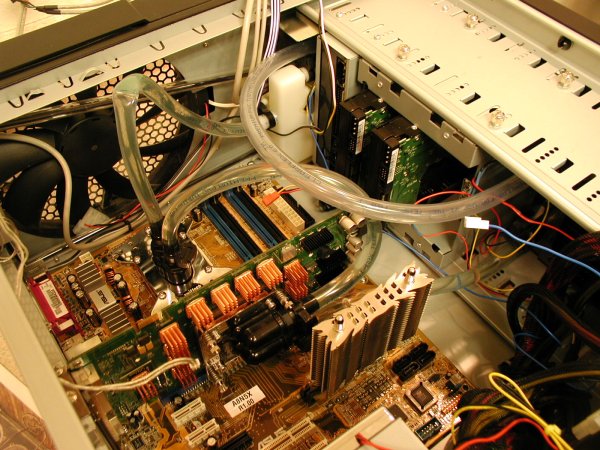
The CPU is now closer to the reservoir than it was. This isn’t going to work, is it? Check out the kink in that tube! Some adjustment is in order.
Right, so with a bit of trimming, it all fits nicely. Looks like it should have excellent airflow now, too.
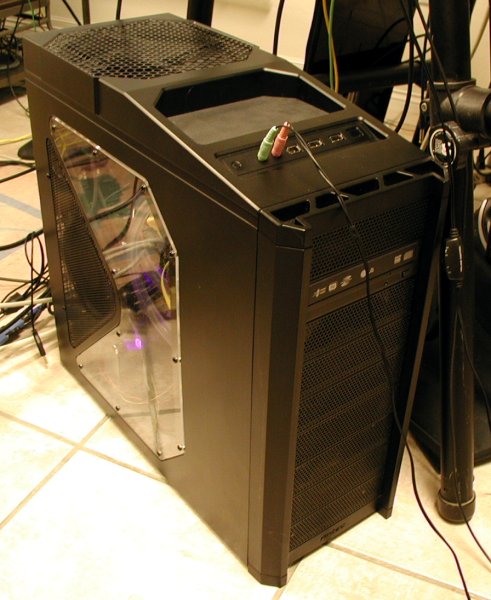
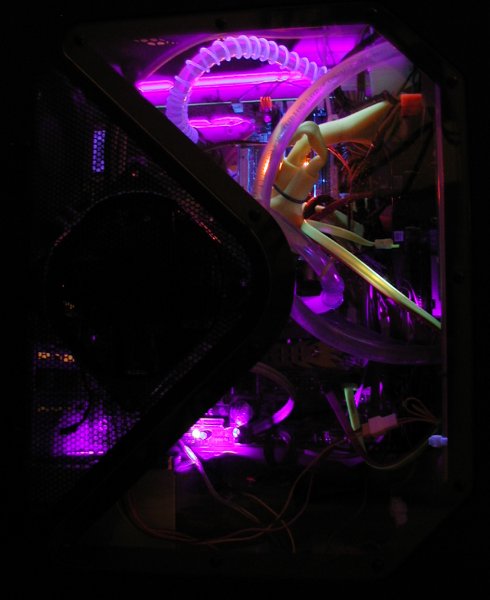
The case doesn’t glow nearly this much, but that’s the magic of digital photography. :) You can see that I added some of that “tubing wrap” stuff to prevent the top tube from kinking. I was skeptical, but it really does work. And of course it looks cool. You don’t really have to wrap the whole tube, you can just add little bits to the critical bends…
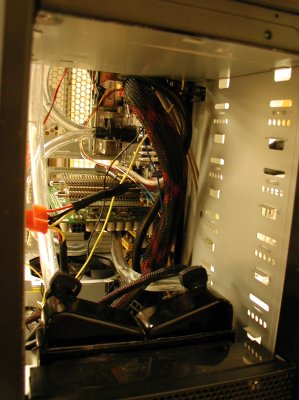
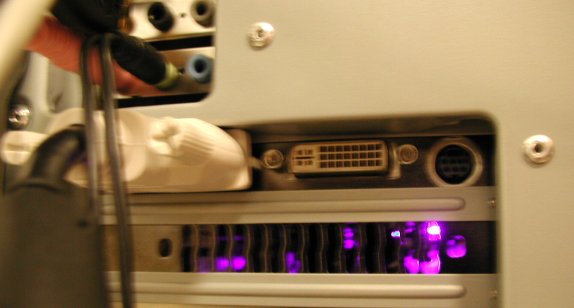
There’s just one wart. The VGA card is now in the top slot, which for some reason doesn’t have enough room to plug in the connectors without bending the case. Huh!
But if this is the only problem, I’m quite happy. I have a half decent overclock burning in right now, and those Scythe fans make basically no noise at all. I’m declaring it a qualified success. Raw salmon all around!

