OLP Project 1: Stay Chiseled

August 8th, 2011

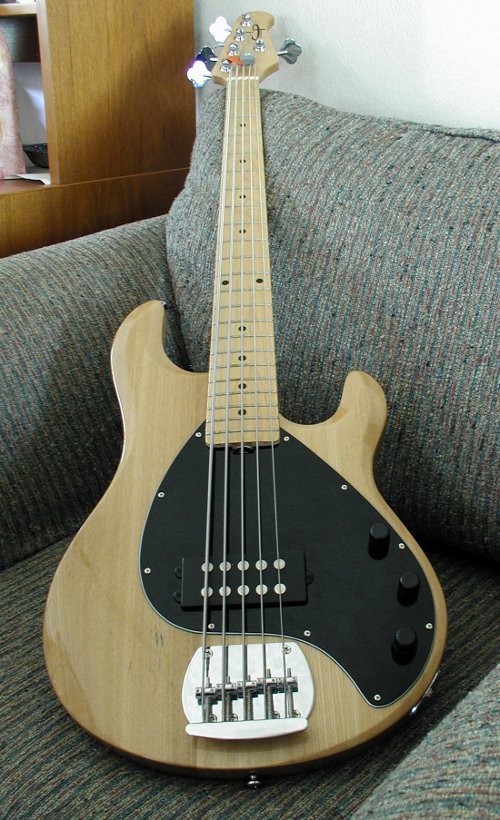
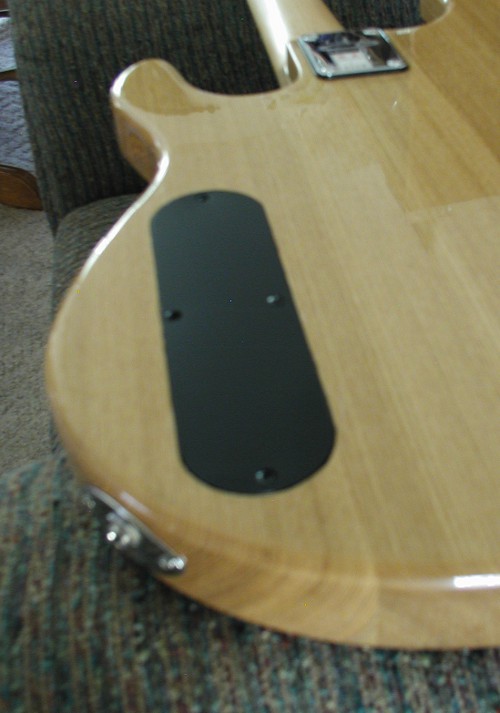
I just acquired this nice OLP 5-string bass. I like it. But it really, really needs bass and treble controls to be usable in a live setting. Which means it needs a battery compartment on the back. Which means I need to learn how to use a chisel.

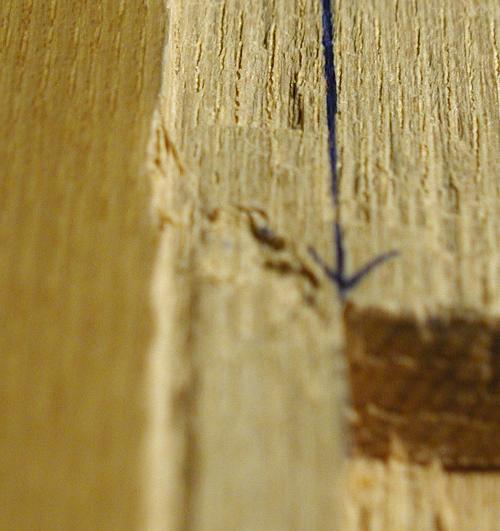
I can’t seem to find my “before” picture. I think I deleted it when Win7 didn’t correctly update the thumbnails. Those two ancient pictures of something I ebayed this spring were probably really my “before” pictures. Oh well. I’m not changing the front of the guitar anyway. :)

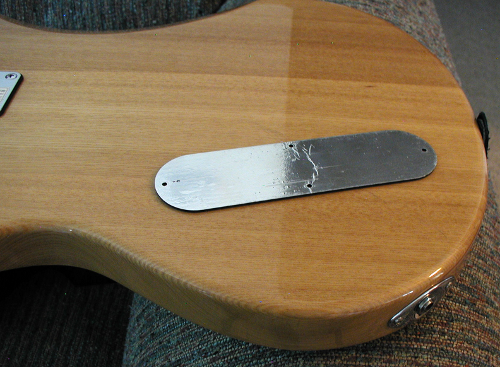
I don’t have the electronics yet, but I have the cover. (Thanks Bitterroot!)  Now I’m nervous. I’ve never deliberately cut up a perfectly good working bass before.

I guess that'll fit

Yes, this seems larger than I really need. But I can expand to a two-battery setup if I choose. Not that I will. Nobody needs 18V of headroom on a guitar-level output. Well, whatever, I’m committed.

I used the dremel’s router attachment to rough out the depth at the edges, but the chisel was much better for getting the edges straight and flattening the bottom of the, well, I guess it’s a mortise. Is it still a mortise if it’s going to hold a cover?

Hey, it looks like this thing goes in there!

In any case, I’m starting to really like chisels. I’m quickly discovering that the dremel is terrible for removing large chunks of wood, but great for sanding rounded curves. And chisels are amazing for chiseling. :)

That looks acceptable, I guess. Sorta, but you sure can’t fit a battery in there. Maybe I could do some bulk wood removal with the dremel. OK so let’s just get a strong grip and… Whoa! OK so maybe power tools aren’t my thing.

Bad dremel! No!

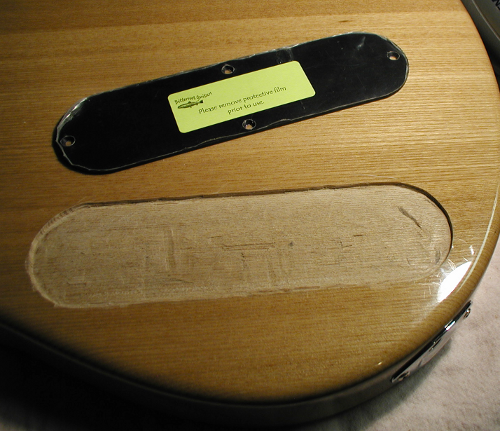
The cavity you see in this picture was actually carved with a chisel. I decided I didn’t like the responsibility of using power tools.

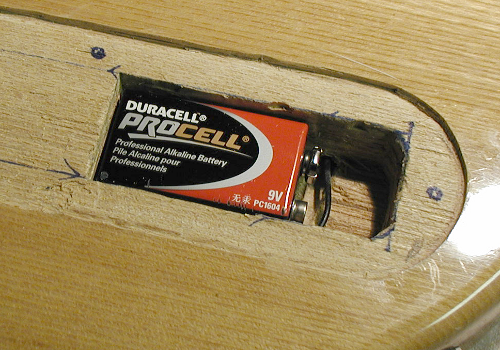
Almost like it was made to hold a battery

I’m amazed at how easy this is to do with a chisel. And how difficult with power tools. Now I just have to wait for the preamp to arrive, and maybe locate some conductive paint.

Alpine 9887/KTX-100 EQ Tuning Notes

July 16th, 2011

I think I understand how to get consistent results tuning my Alpine 9887. I’ve been fighting with it for some time, but the results were sometimes disappointing. Now, I think I have a recipe that works.

For my own future reference and the benefit of insane car stereo geeks, here is what I did that actually seems to work consistently. This process is tested for the front seats (the rear seats in my car are vestigal), with the head unit switched into three-way mode. I did not tune just for the driver, but this should work equally well.

Notes:

  1. I measure at the driver’s ear level vertically
  2. Take measurements slightly behind the normal ear location. This tends to focus the sound image forward, and allows for moving the seats back a bit. For example, I measure at the driver’s headrest and the front of the driver’s head, instead of center of the driver’s head and center of the seat.
  3. Do not change your EQ, crossover, and timing settings after calibration, unless you want to run IMPRINT again.

Procedure:

  1. Remove headrests
  2. Turn off MultEQ
  3. Set all EQ settings flat
  4. Set all timing compensation to 0
  5. Set the subwoofer to 1 or 5 (doesn’t seem to matter much).
  6. Set up the crossover where you like it, but with all levels at 0. I crossed over at 80 and 200 Hz, using the rear deck as mid-bass.
  7. Play music, and set the amplifier gains for the low/mid/high so that it is approximately flat response. Leave room to boost the subwoofer level, depending on personal taste
  8. Run the IMPRINT software, and measure position 1 to detect speakers and get a quick measurement, but don’t do more unless you have time to kill
  9. Here’s the trick! Click “Go to results” (or whatever it is called) and look at the measured frequency curve. Does it look roughly like the “reference curve” or the “linear curve” (I use linear myself). Adjust sub/lo/high amp levels and repeat the first measurement until it is close.
  10. When you like the initial curve, go back and make all measurements and load the curves.
  11. Listen to the result and adjust your subwoofer level to taste.
  12. You may wish to change your mic locations or crossover points and start over. If not, you are done!

If the rough levels of the low/mid/high are close to the final desired slope, IMPRINT will not waste EQ fixing the overall balance, and can focus on smaller peaks. I find that IMPRINT can not compensate for large offsets, and will generally give up.

If the mid-bass speakers are much louder than the tops, IMPRINT can not adjust this–it will try to fix it with EQ! So it will crank up the high mids and treble, causing your mid-bass speakers to blast honky high mids from the rear deck. This is not what you want! This also applies to the subs/midbass crossover point.

This discovery has left me wondering how much adjustment we are expected or allowed to do before running the IMPRINT measurements. Should we be EQ-ing obvious problems? Is it OK to change the levels in the crossover?

Once again, the trick is to use IMPRINTs “measured” curve to check your amplifier gains. Or, if you have it, a real analyzer and reference mic. But hey, if you have that you probably aren’t fighting with IMPRINT, right? :)

WordPress Quotes Collection patch update

July 11th, 2011

This is an update to the WordPress Quotes Collection plugin, which uses “ORDER BY RAND().” This is a Bad Idea, but there is a better way that isn’t too ugly. This is a partial fix. A complete fix involves a helper table and a database trigger, which I am just too lazy to maintain as a branch of an uncommented PHP script.

The problem: If you have a very large number of quotes, and use the “random” feature, your quotes collection plugin is eating randomness very rapidly for each page load. This is bad.

The solution: This patch replaces the quotescollection_get_quote()  function with a random function that retrieves exactly one random number per fetch. It has only been tested in my configuration, with Quotes Collection 1.5.1:

function quotescollection_get_quote($condition = '', $random = 1, $current = 0)
{
    global $wpdb;
    $sql = "SELECT quote_id, quote, author, source
        FROM " . $wpdb->prefix . "quotescollection";
    if(!$random) {
        if ($condition)
            $sql .= $condition;
        if($current)
            $sql .= " AND quote_id < {$current}";
        $sql .= " ORDER BY quote_id DESC";
    }
    else {
                // Select random id. Conserves randomness, but will be less random if you
                // delete quotes.
                // See: http://jan.kneschke.de/projects/mysql/order-by-rand/
        $sql .= " JOIN (SELECT CEIL(RAND() * (SELECT MAX(quote_id)
                                FROM " . $wpdb->prefix . "quotescollection )) AS id)
                               AS myrand";

        if ($condition) {
            $sql .= $condition;
            $sql .= " AND ";
        }
        else {
            $sql .= " WHERE ";
        }

                $sql .= "quote_id >= myrand.id";
        // This random method requires LIMIT 1, which is appended below already
    }

    $sql .= " LIMIT 1";
    $random_quote = $wpdb->get_row($sql, ARRAY_A);
    if ( empty($random_quote) ) {
        if(!$random && $current)
            return quotescollection_get_quote($condition, 0, 0);
        else
            return 0;
    }
    else
        return $random_quote;
}

My previous random fix used count(*) which I have now discovered can be just as slow, for entirely different reasons. So I won’t be doing that again. :)

Peace, love, and high quality randomness to you all.